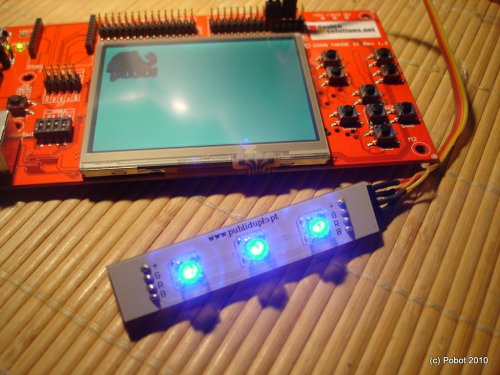
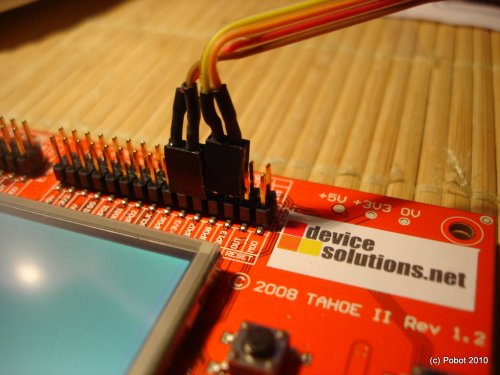
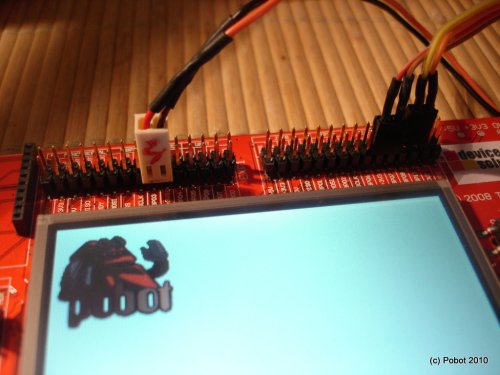
Un nouvel exercice avec le .NET Micro Framework. Il s’agit de simplement allumer des leds avec des sorties numériques (tout ou rien).
J’ai choisi une barre de leds RGB pour que ce soit plus fun qu’une led toute simple, mais sachez qu’il existe une led disponible sur la carte Tahoe II (via une patte du connecteur XBee).
Sorties numériques
On va tout d’abord faire clignoter les leds toutes les secondes. Pour cela, il faut :
- ajouter les références à Microsoft.SPOT.Hardware et DeviceSolutions.SPOT.Hardware
- déclarer leur utilisation
- utiliser l’objet OutputPort
La création d’un OutputPort se fait en précisant la patte concernée et la valeur par défaut (vrai pour un niveau haut). Puis on peut écrire une valeur (booléenne) à tout moment.
using System ;
using System.Threading ;
using Microsoft.SPOT ;
using Microsoft.SPOT.Hardware ;
using DeviceSolutions.SPOT.Hardware ;
namespace LedRGB
public class Program
static OutputPort ioLedBlue, ioLedRed, ioLedGreen ;
public static void Main()
Debug.Print(
Resources.GetString(Resources.StringResources.String1)) ;
ioLedBlue = new OutputPort(Meridian.Pins.GPIO7, false) ;
ioLedRed = new OutputPort(Meridian.Pins.GPIO8, false) ;
ioLedGreen = new OutputPort(Meridian.Pins.GPIO13, false) ;
while (true)
Debug.Print(".") ;
ioLedBlue.Write(true) ;
ioLedRed.Write(true) ;
ioLedGreen.Write(true) ;
Thread.Sleep(1000) ;
ioLedBlue.Write(false) ;
ioLedRed.Write(true) ;
ioLedGreen.Write(false) ;
Thread.Sleep(1000) ;
ioLedBlue.Write(true) ;
ioLedRed.Write(false) ;
ioLedGreen.Write(false) ;
Thread.Sleep(1000) ;
Première utilisation des entrées
Pas de nouveau namespace (reference) mais une nouvelle classe : InputPort. Son initialisation reste très simple :
– la patte concernée
– l’utilisation d’un anti-rebond logiciel (glitch)
– le type de résistance : pull-up, pull-down ou rien du tout.
using System ;
using System.Threading ;
using Microsoft.SPOT ;
using Microsoft.SPOT.Hardware ;
using DeviceSolutions.SPOT.Hardware ;
namespace LedRGB
public class Program
static OutputPort ioLedBlue, ioLedRed, ioLedGreen ;
static InputPort ioCmdBlue, ioCmdRed, ioCmdGreen ;
public static void Main()
Debug.Print(
Resources.GetString(Resources.StringResources.String1)) ;
ioLedBlue = new OutputPort(Meridian.Pins.GPIO7, false) ;
ioLedRed = new OutputPort(Meridian.Pins.GPIO8, false) ;
ioLedGreen = new OutputPort(Meridian.Pins.GPIO13, false) ;
ioCmdBlue = new InputPort(Meridian.Pins.GPIO1, false, Port.ResistorMode.PullUp) ;
ioCmdRed= new InputPort(Meridian.Pins.GPIO2, false, Port.ResistorMode.PullUp) ;
ioCmdGreen= new InputPort(Meridian.Pins.GPIO3, false, Port.ResistorMode.PullUp) ;
while (true)
Debug.Print(".") ;
ioLedBlue.Write(ioCmdBlue.Read()) ;
ioLedRed.Write(ioCmdRed.Read()) ;
ioLedGreen.Write(ioCmdGreen.Read()) ;
Thread.Sleep(20) ;
Un anti-rebond logiciel
Si vous utilisez les boutons de la carte (de GPIO1 à GPIO9), pas besoin de glitch, mais si vous connectez un interrupteur microswitch utilisé couramment en robotique ce sera différent et on sera bien heureux d’avoir cet anti-rebond.
 PoBot
PoBot
 Entrées/sorties avec .NET Micro Framework


